A Complete Guide To Paving and Install Artificial Grass
Artificial turf, with its aesthetic appeal, durability, and low maintenance, has become the preferred surface material for sports fields, landscape design, and commercial spaces. However, high-quality artificial turf installation relies not only on superior materials but also on a scientific construction process and precise execution. The following detailed guide, from initial preparation to post-construction maintenance, helps you create a durable, well-drained turf surface, extending its lifespan and reducing maintenance costs.
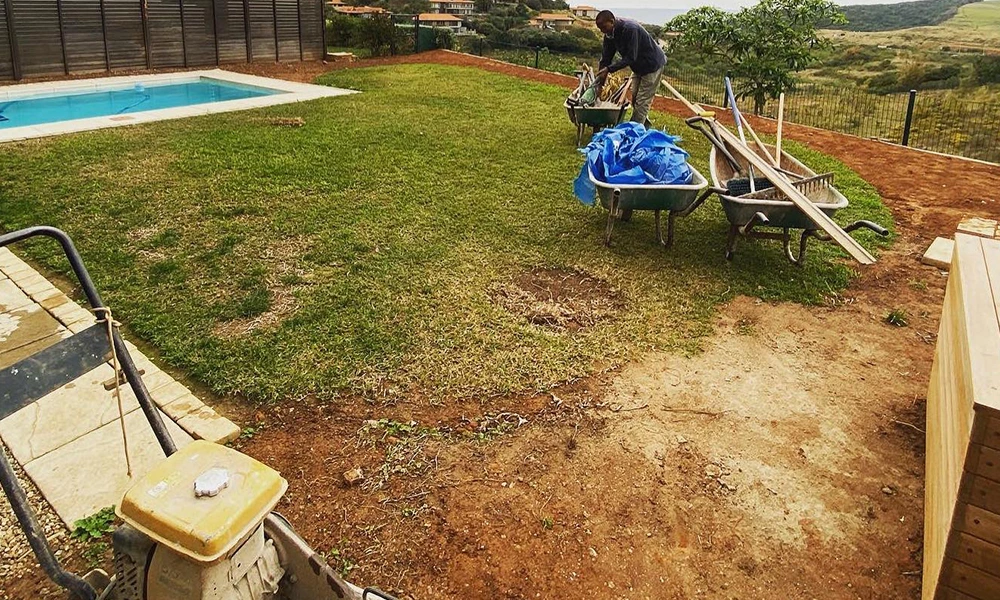
I. Pre-construction preparation: Foundation inspection and treatment
A solid foundation is key to the successful installation of artificial turf. Improper foundation preparation will lead to uneven surfaces, water accumulation, and premature damage to the turf.
1.1 Site Cleanup
- Remove all obstacles from the construction area, including gravel, tree roots, weeds, and loose soil.
- using machines or manually to ensure there are no obvious bumps or unevenness.
- Inspect and mark underground pipelines, cables, and other concealed facilities to prevent damage during construction.
1.2 Ground leveling and compaction
- Fill low-lying areas with gravel and sand to ensure the ground is firm.
- Set a drainage slope: 1%-2% is recommended for sports fields, and 0.5%-1% for landscaped areas, to ensure effective rainwater drainage.
- Use a road roller or compaction equipment to compact the ground multiple times until there are no obvious depressions .
1.3 Drainage System Setup
- Inspect the existing drainage system and clean and dredge the drainage pipes and ditches.
- Lay a layer of highly permeable material (such as a layer of crushed stone) as an auxiliary drainage layer, with a thickness of approximately 5-10 cm.
- For large areas, consider installing blind drains or drainage boards to form a complete drainage network.
II. Artificial Turf Installation Process
2.1 Turf Development and Adaptation
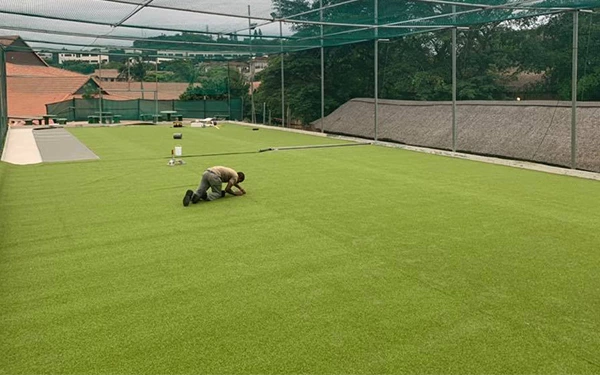
- After the turf arrives, it should be fully unfolded in a cool, well-ventilated place and left to stand for 24 hours to release the stress generated during transportation.
- When laying the turf , spread it out in the same direction to ensure that the grass fibers are facing the same direction.
- Leave a 3-8mm overlap between adjacent turf to ensure a tight seam.
2.2 Cropping and Alignment
- Use professional turf cutting tools to precisely cut along the marked lines, ensuring neat edges.
- Cutting from the back of the turf allows for more precise control and cleaner edges.
- After aligning the seams, temporarily secure them with heavy objects (such as sandbags) to prevent shifting.
- For curved or specially shaped areas, pre-layout is performed, and the cutting follows the principle of "large areas first, details later".
III. Turf Bonding
3.1 Preparation before bonding
- Ensure that the back of the turf at the seams and the seam tape are clean, dry, and free of dust or oil.
- The ambient temperature during construction should be above 5℃. Avoid working in rainy weather, high humidity, or low temperature conditions.
- Prepare special glue , glue application tools, seam tape, and other necessary tools.
3.2 Glue application and bonding
- Use a serrated scraper to evenly apply the special adhesive, ensuring it covers the entire seam area and seam tape.
- The thickness of the glue application should be moderate: too thick and it will easily produce air bubbles; too thin and the adhesion will be insufficient.
- After applying the adhesive, wait 10-30 minutes until it is semi-dry.
- Align the turf seams precisely and press them together in one go (avoid repeated moving and adjustment). Press from the center outwards to expel air.
3.3 Pressurization and Curing
- Use a rubber mallet or special pressure roller to repeatedly press along the joint to ensure a firm bond.
- Apply appropriate weight (such as sandbags) to the joints and leave for 24 hours to ensure complete curing.
IV. Filling and Post-processing
4.1 Site Cleanup
- After installation, clean the site and remove cutting debris, glue residue, and other debris.
- Use a professional vacuum cleaner to clean the turf surface to ensure it is clean and dust-free.
4.2 Selection and laying of infill materials
Quartz sand filling:
- Recommended particle size: 0.2-0.8mm; dosage: approximately 18-20kg/㎡ (suitable for turf with a height of 30-40mm).
- After spreading the sand evenly, use a broom or a special combing device to fill the base of the grass fibers with sand.
Rubber granule filling (recommended for sports fields):
- Particle size 0.5-2mm, resilience > 60%
- Application rate: approximately 5-6 kg/m² (suitable for turf with a height of 30-40 mm)
- Filling sequence: First lay quartz sand, then lay rubber granules to form a composite filler layer.
4.3 Combing the grass fibers
- Use a specialized turf comber or stiff-bristled brush to comb the grass multiple times, keeping the grass fibers upright.
- Comb the grass daily for 2-3 days after filling to help distribute the filling material evenly and promote the grass fibers to return to their natural shape.
V. Key Considerations and Best Practices
5.1 Turf transportation and storage
- Avoid dragging during transport to prevent wear and tear on the edges of the turf.
- Unlaid turf should be stored in a cool, dry place, away from direct sunlight and damp environments.
- The stacking height should not be too high to prevent the bottom turf from being deformed by pressure.
5.2 Cutting and Seaming Techniques
- For large areas, paving should proceed from the center outwards to ensure accurate dimensions.
- All seams should avoid major stress areas (such as the penalty area and goal area of the stadium).
- The curved areas are cut in a radial pattern to ensure smooth and natural curves.
VI. Post-Maintenance Guide
| Maintenance Project | Frequency | Operation Method |
| For routine cleaning | 1-2 times per week | Use a broom or vacuum cleaner to remove surface debris. |
| Deep clean | Once a month | Use a dedicated lawn cleaner and rinse with water; avoid using products containing bleach. |
| Filler inspection | Once per quarter | Check if the filling material is even, and replenish it promptly if necessary. |
| Grass combing | Once per quarter | Use a specialized combing device or a stiff broom to comb the grass fibers and keep them upright. |
| Seam inspection | Once every six months | Check the seams for cracks or looseness, and apply sealant if necessary. |
| Drainage system | Once every six months | Clean drainage ditches and outlets to ensure unobstructed drainage. |
VII. Selection and Scenario-Specific Recommendations
1. Sports and Competition Scenarios
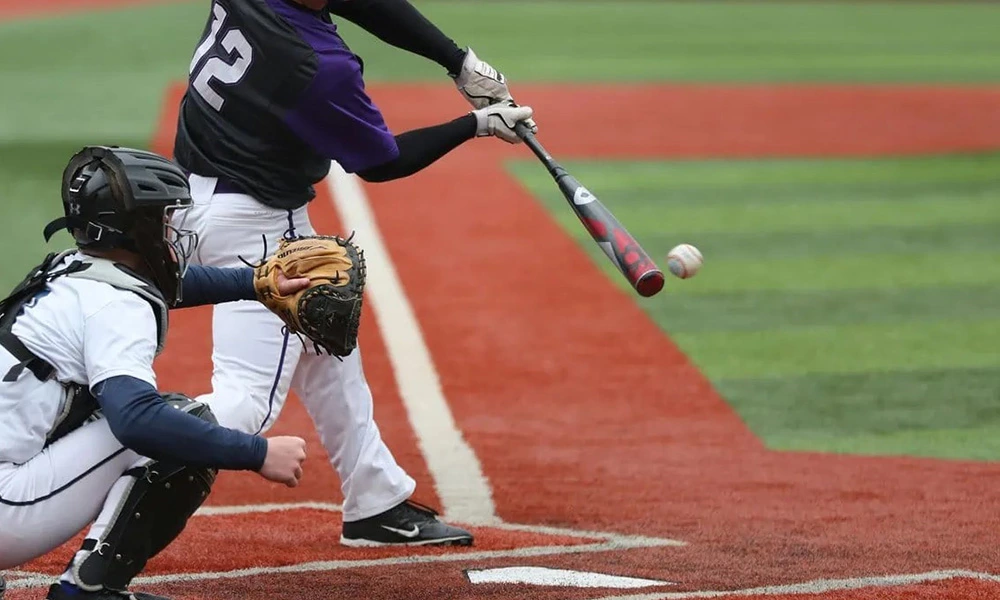
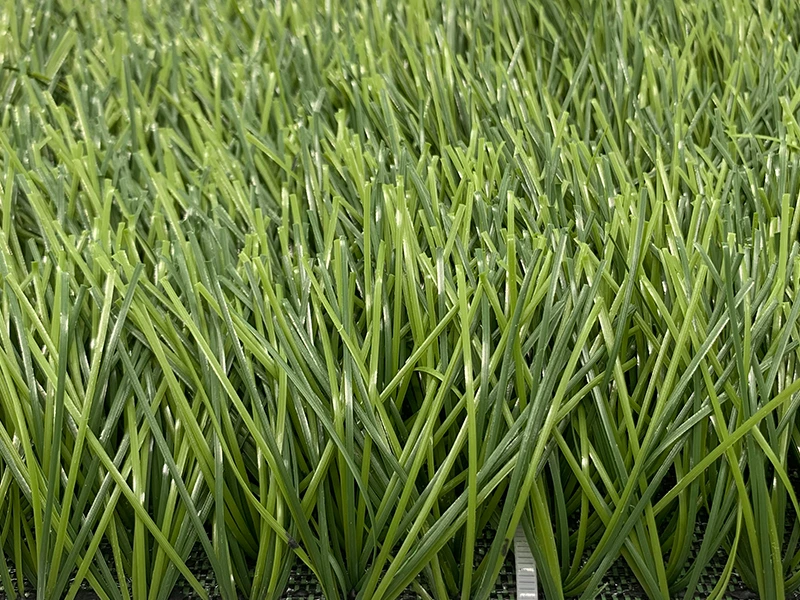
For soccer fields, PE turf is recommended, with grass fibers 50-60mm high. The thickness of the infill layer must be calculated carefully during selection. If the grass fibers are too short, too little will be exposed after infilling, resulting in poor grip; if the fibers are too long, infill costs will increase, and the grass is more prone to lodging.
For tennis and basketball courts, short-grass or curly-fiber turf without infill is recommended. Grass height is typically between 13-25mm, and the surface friction should be uniform, with no particle splashing.
For professional fields, a 10-15mm thick elastic shock-absorbing pad is recommended. Although this increases cost, it improves sports safety.
2. Leisure and Landscape Scenarios
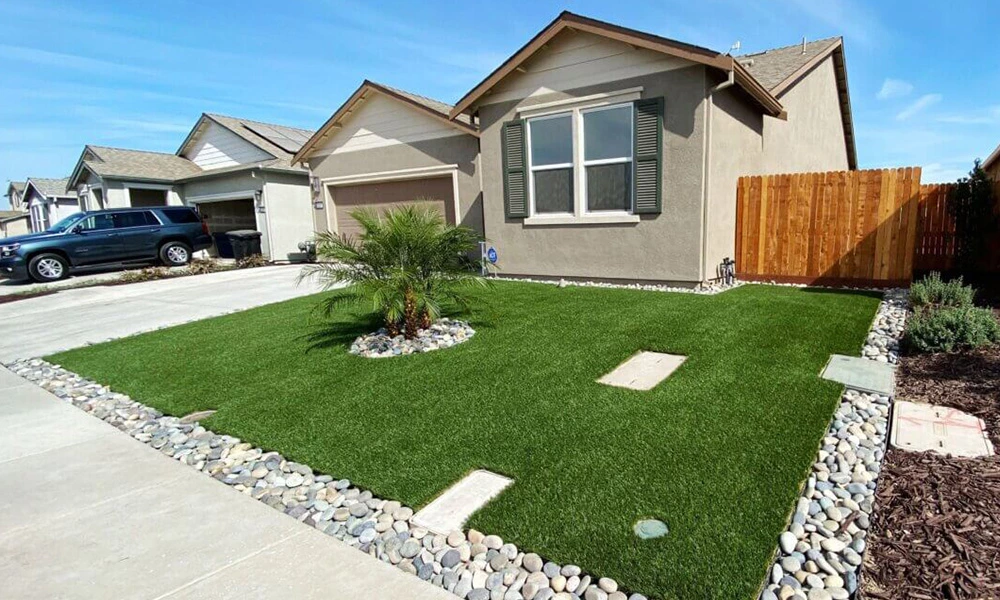
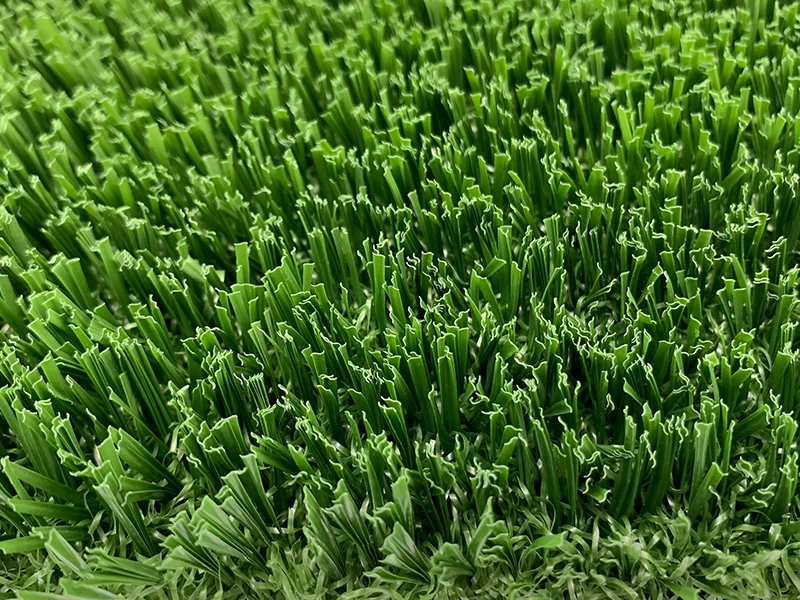
Olive green or light green mixed-color turf with a blend of curly and straight fibers is preferred. Curved fibers increase fluffiness, while straight fibers provide support, resulting in high realism.
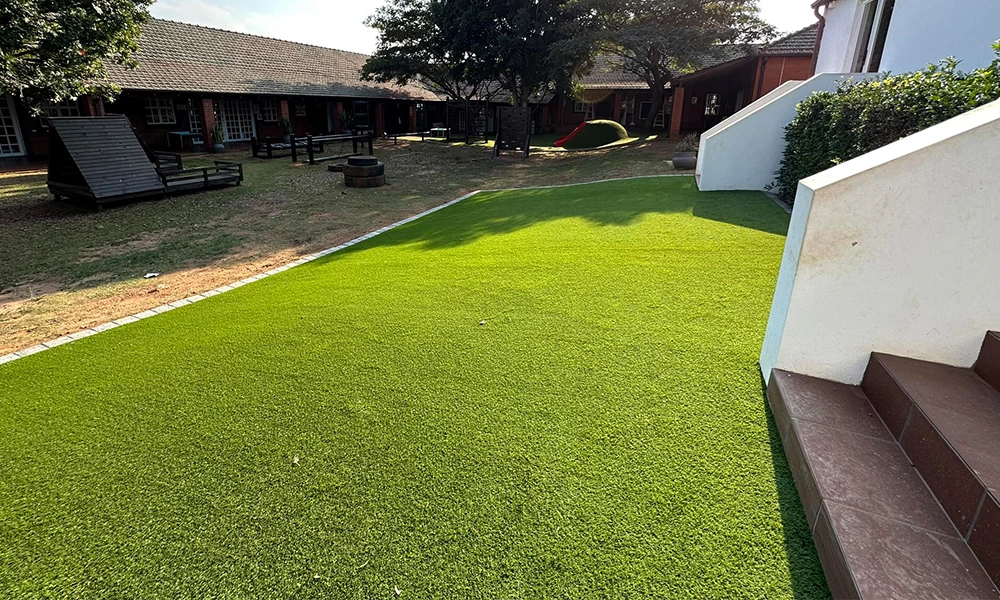
Kindergartens must choose PE material that is free of heavy metals and has no odor. It should be soft to the touch to avoid scratching children's skin.
Leisure grass typically does not require infill particles. Therefore, no sand filling equipment or space needs to be reserved for particle settling during installation, and the construction speed is fast.
3. Rooftop and Indoor Applications
It is recommended to choose high-density, low-weight products, or dedicated roof turf. A permeable backing is essential to prevent rainwater buildup that could lead to leaks or mold. Weight control is crucial for rooftop turf installation. It does not require a concrete base or heavy infill. It is recommended to lay it directly on the waterproof layer, ensuring the turf backing is firmly attached and does not peel off.
VIII. Budget and Cost Control
1. Cost Differences in Foundations and Materials
• Asphalt/Cement Foundation (High Cost): Good flatness, long lifespan, suitable for professional courts.
• Gravel/Soil Foundation (Low Cost): Low cost, but difficult to compact, prone to unevenness due to settlement later.
• Recommendation: When budget is limited, it's better to lower the grade of the turf to ensure the compaction of the foundation; otherwise, the cost of repairing the foundation later will be ten times the cost of materials.
Don't blindly pursue World Cup-level parameters. For community or school training fields, choosing high-wear-resistant products will meet the needs. The price is usually about 30% lower than FIFA-certified products, but the lifespan is more than sufficient.
2. Simplified Process
• Reduce Waste: Calculate the laying direction of the turf according to the field size, and minimize the cutting of irregular corners. This can save a lot on material costs.
• Glue and Accessories: Use glue in moderation. Applying too much glue is not only wasteful but also easily seeps into the grass fibers, forming glue clumps that are difficult to clean. Precise control of the adhesive application thickness can save up to 15% on adhesive usage.
3. High-quality application is the biggest way to save money
Professional application not only ensures proper infill and grooming but also handles details such as adhesive application at seams. This effectively extends the life of the lawn and reduces annual repair and maintenance costs, allowing for budget control.
IX. Frequently Asked Questions
Q1: Cracking at the seams of the turf
Causes: Insufficient adhesion, poor glue quality, or high humidity in the construction environment.
Solution: Clean the seams, reapply the special adhesive, and allow it to cure under pressure.
Q2: Water accumulation on the site
Causes: Insufficient drainage slope, blocked drainage system, or inadequate foundation compaction.
Solution: Readjust the drainage slope, unclog the drainage system, and add auxiliary drainage facilities if necessary.
Q3: Turf buckling or deforming
Causes: Uneven foundation, insufficient turf stretching, or temperature fluctuations causing thermal expansion and contraction.
Solution: Re-lay the cambered area, ensuring a level foundation and allowing for expansion and contraction.
Summarize
Artificial turf installation is a complex project that is "30% materials and 70% construction." Only through scientific foundation preparation, precise installation techniques , and meticulous post-installation maintenance can a beautiful and durable artificial turf surface be created.

